Ready to ditch the same old Valentine's Day nail art? 2025 is all about personalized nail designs, and we've got the hottest trends to inspire your perfect manicure. From minimalist chic to bold and playful, we'll guide you through creating stunning nails at home, regardless of your skill level. Think glazed donuts, sparkly chrome accents, and more—we’ll provide step-by-step instructions and expert tips to ensure your nails are the perfect finishing touch for your Valentine's Day celebration. Let's get creative!
Reimagining Classic Valentine's Day Looks
Traditional Valentine's Day colors—reds and pinks—are timeless, but let's give them a modern twist! Sophisticated simplicity is key for 2025.
Negative Space Hearts: The Minimalist's Choice
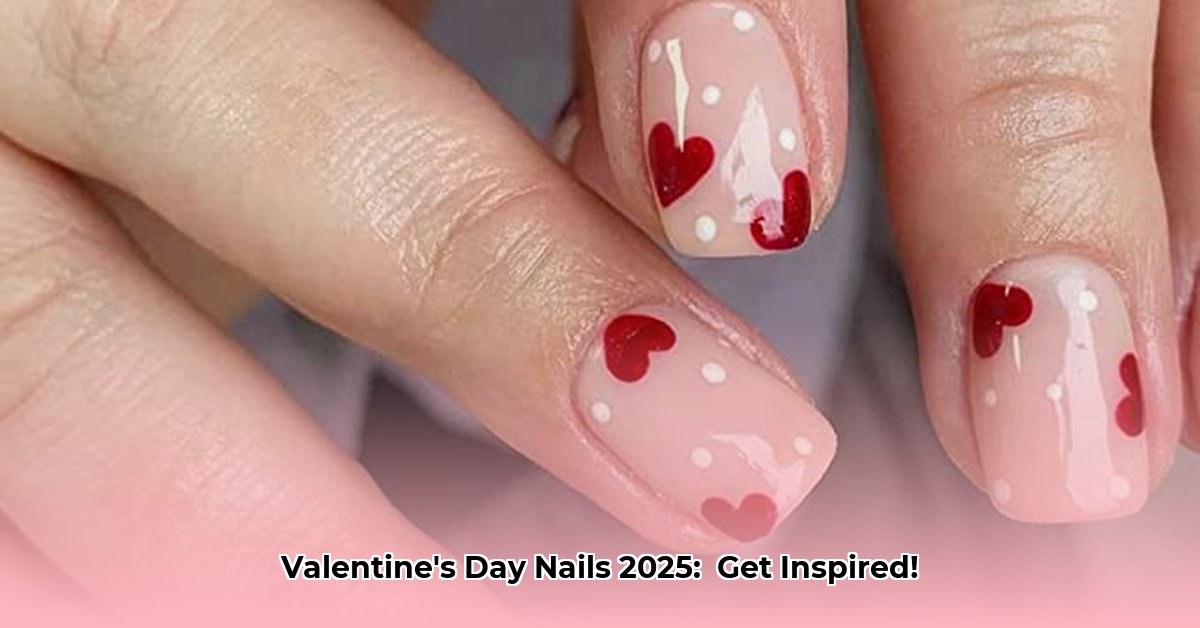
This sophisticated look uses negative space to create elegant hearts. Imagine a delicate white or shimmering metallic heart against your natural nail color. It’s surprisingly easy!
- Apply a base coat.
- Paint your nails a nude or pale pink base color.
- Use a thin brush to carefully create the heart shape, leaving the negative space visible.
- Seal with a top coat for long-lasting wear.
Did you know that negative space nail art offers a versatile canvas for personalization? You can customize the size, placement, and color of your hearts to reflect your unique style.
Ombre Dreams: A Soft and Dreamy Transition
The ombre effect creates a stunning, gradual color blend. Picture a dreamy transition from blush pink to a rich crimson. It looks professional, but is easily achievable at home.
- Start with a gradient sponge technique or a thin brush for a precise blend.
- Blend blush pink to crimson, or your chosen color combination.
- Add a delicate metallic accent for that special touch, or try a matte top coat for a modern twist.
A 2024 survey by Cosmopolitan magazine showed that ombre nails were one of the top three trending nail styles. This style continues to evolve, proving its enduring appeal.
Metallic Accents: Adding a Touch of Sparkle
Elevate your look with subtle glam! Gold or silver foil accents or tiny studs add instant luxury. Experiment with placement—a single accent on your ring finger, or several scattered across.
- Apply your base coat and chosen nail color.
- Once dry, carefully apply metallic foil pieces, tiny studs, or other adornments.
- Seal everything with a top coat to secure your design and add shine.
Adding metallic accents is a simple way to elevate any nail art design—a touch of elegance goes a long way!
Hottest Nail Art Trends for Valentine's Day 2025
Let's explore the exciting new trends transforming the nail world!
Glazed Donut Nails: The Glossy Perfection Trend
This high-shine finish is a must-have. Achieve the glossy look with several coats of sheer pink or nude, followed by multiple layers of high-gloss top coat.
- Apply a base coat.
- Apply thin coats of your sheer pink base color.
- Finish with several thin coats of high-gloss top coat for supreme shine.
The glossy, flawless “glazed donut” look has staying power, and its adaptability to seasonal colors is a testament to its enduring appeal.
Skittles Nails: Rainbow Fun for Everyone
Embrace playful experimentation with color! Combine pinks, reds, and unexpected shades like lavender or orange. Pick colors that complement each other.
- Apply a base coat.
- Paint each nail a different color or pattern.
- Add decorative elements if desired (glitter, rhinestones, etc.).
- Seal with a top coat.
"Skittles nails" offer a fantastic opportunity for self-expression, allowing you to incorporate a variety of colors, textures, and finishes," says renowned nail artist, Anya Petrova, owner of Petrova Nail Studio."
Chrome Accents: A Futuristic Touch
Chrome nail powder provides dazzling, mirror-like accents. Use them sparingly or more liberally. A deeper red paired with chrome is truly stunning!
- Apply your base coat and chosen nail color.
- Apply the chrome powder over your base color using an applicator sponge or brush.
- Seal with a top coat to ensure long-lasting shine.
Magnetic Manis: Mesmerizing Swirls and Patterns
Magnetic polishes create mesmerizing swirls and patterns. The metallic particles respond to a magnet, allowing you to create unique designs.
- Apply a base coat and your chosen magnetic nail polish.
- Use a small magnet to manipulate the particles to create your desired design.
- Finish with a top coat. It takes practice, but it is worth it!
Magnetic polishes offer a unique and creative way to personalize your manicure, making each nail a work of art.
Your At-Home Nail Art Toolkit
To recreate these looks, you'll need:
- Base coat
- Top coat
- Nail polish in your chosen colors
- Thin nail art brushes
- Dotting tool (optional)
- Nail file & buffer
- Optional: Chrome powder, foil, glitter, rhinestones
Tips & Tricks for Perfect Valentine's Day Nails
- Prep your nails: Cleanse, file, and push back cuticles.
- Apply thin coats: Prevents smudging and chipping.
- Use a base coat: Protects nails and ensures a smooth surface.
- Seal with a top coat: Adds protection and shine.
- Clean up mistakes: Nail polish remover and a small brush make quick work of errors.
Ready? Create your unique Valentine's Day nails! Remember, it's all about your personal style. Have fun and experiment!